android/kotlin
[Android][Kotlin] chip 동적 추가하기
윈 Win
2021. 8. 9. 00:00
728x90
블로그 이사했습니다!
👇 블로그 이전 공지 👇
👇 새 블로그에서 글 보기 👇
https://win-record.tistory.com/51
[Android] chip 동적 추가하기
⚠️ 2021.08.09에 작성된 글입니다 ⚠️ chip을 동적으로 추가, 삭제하는 기능을 만들어보자. 최종 완성에서는 다음과 같은 기능이 있다. chip 추가 chip 삭제 모든 chip 이름 확인하기 핵심 코드 chip gro
win-record.tistory.com
chip을 동적으로 추가, 삭제하는 기능을 만들어보자.
최종 완성에서는 다음과 같은 기능이 있다.
chip 추가chip 삭제모든 chip 이름 확인하기
핵심 코드
chip group 객체의 addView 메소드를 이용해 chip을 추가해준다.
chip의 apply 중괄호 안에서 chip의 속성을 정의해준다.
val chipGroup = findViewById<ChipGroup> (R.id.chip_group)
var chipName = "새로운 chip"

chipGroup.addView(Chip(this).apply {
    text = chipName // text 세팅
    isCloseIconVisible = true // x 버튼 보이게 하기
    setOnCloseIconClickListener { binding.chipGroup.removeView(this) } // x버튼 눌렀을 때 삭제되기
})
전체 코드
activity_chip.xml
<?xml version="1.0" encoding="utf-8"?>
<androidx.constraintlayout.widget.ConstraintLayout xmlns:android="http://schemas.android.com/apk/res/android"
xmlns:app="http://schemas.android.com/apk/res-auto"
xmlns:tools="http://schemas.android.com/tools"
android:layout_width="match_parent"
android:layout_height="match_parent"
android:gravity="center_horizontal"
android:orientation="vertical"
tools:context=".ChipActivity">
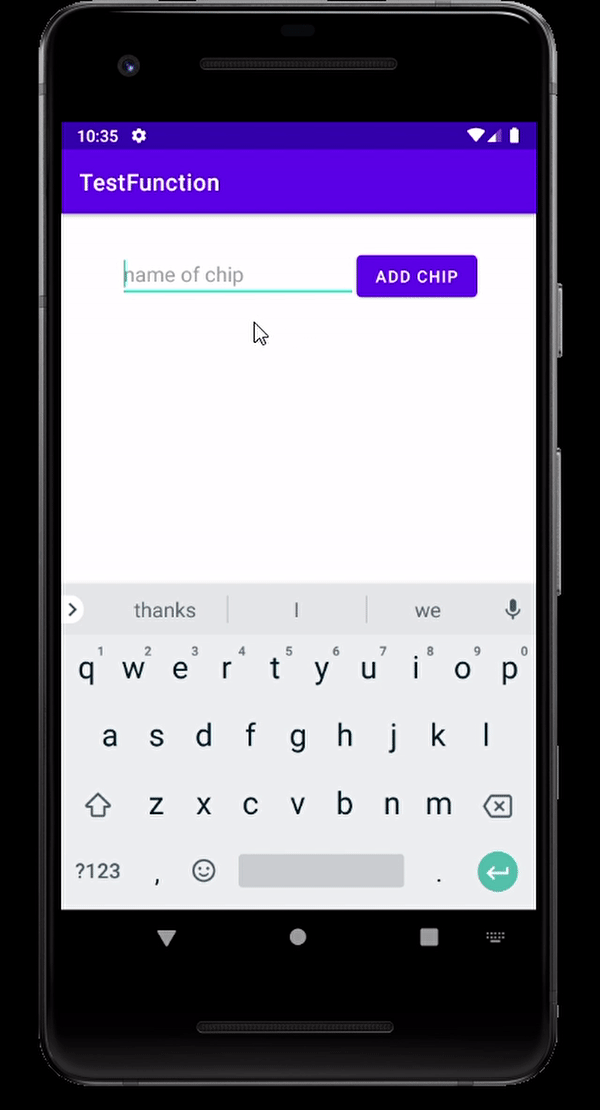
<EditText
android:id="@+id/edt"
android:layout_width="0dp"
android:layout_height="wrap_content"
android:hint="name of chip"
app:layout_constraintEnd_toStartOf="@id/btn"
app:layout_constraintHorizontal_chainStyle="packed"
app:layout_constraintStart_toStartOf="parent"
app:layout_constraintTop_toTopOf="@id/btn"
app:layout_constraintWidth_percent="0.5" />
<Button
android:id="@+id/btn"
android:layout_width="wrap_content"
android:layout_height="wrap_content"
android:layout_marginTop="30dp"
android:text="add chip"
app:layout_constraintEnd_toEndOf="parent"
app:layout_constraintStart_toEndOf="@id/edt"
app:layout_constraintTop_toTopOf="parent" />
<com.google.android.material.chip.ChipGroup
android:id="@+id/chip_group"
android:layout_width="0dp"
android:layout_height="wrap_content"
android:layout_marginTop="20dp"
app:layout_constraintEnd_toEndOf="parent"
app:layout_constraintStart_toStartOf="parent"
app:layout_constraintTop_toBottomOf="@id/btn"
app:layout_constraintWidth_percent="0.8" />
<Button
android:id="@+id/btn_check"
android:layout_width="wrap_content"
android:layout_marginBottom="10dp"
android:layout_height="wrap_content"
android:text="check chip list"
app:layout_constraintBottom_toBottomOf="parent"
app:layout_constraintEnd_toEndOf="parent"
app:layout_constraintStart_toStartOf="parent" />
</androidx.constraintlayout.widget.ConstraintLayout>
ChipActivity.kt
package com.example.testfunction

import android.os.Bundle
import android.widget.Toast
import androidx.appcompat.app.AppCompatActivity
import com.example.testfunction.databinding.ActivityChipBinding
import com.google.android.material.chip.Chip


class ChipActivity : AppCompatActivity() {
    private val binding by lazy { ActivityChipBinding.inflate(layoutInflater) }

    override fun onCreate(savedInstanceState: Bundle?) {
        super.onCreate(savedInstanceState)
        setContentView(binding.root)

        binding.btn.setOnClickListener {
            val string = binding.edt.text
            if (string.isNullOrEmpty()) {
                showToast("chip 이름을 입력해주세요")
            } else {
                binding.chipGroup.addView(Chip(this).apply {
                    text = string
                    isCloseIconVisible = true
                    setOnCloseIconClickListener { binding.chipGroup.removeView(this) }
                })
            }
        }
        binding.btnCheck.setOnClickListener {
            val chipList = ArrayList<String>()
            for (i: Int in 1..binding.chipGroup.childCount) {
                val chip: Chip = binding.chipGroup.getChildAt(i - 1) as Chip
                chipList.add(chip.text.toString())
            }

            var output = "count: ${chipList.size}\n"
            for (i in chipList) {
                output += "$i / "
            }
            showToast(output)
        }
    }

    private fun showToast(message: String) {
        Toast.makeText(applicationContext, message, Toast.LENGTH_LONG).show()
    }
}
완성